Home
Uncategories
How To Paint A Doormat - Easily Make This Wipe Your Paws Diy Personalized Doormat Lz Cathcart - Hold your spray paint about 3 inches from your surface.
How To Paint A Doormat - Easily Make This Wipe Your Paws Diy Personalized Doormat Lz Cathcart - Hold your spray paint about 3 inches from your surface.
How To Paint A Doormat - Easily Make This Wipe Your Paws Diy Personalized Doormat Lz Cathcart - Hold your spray paint about 3 inches from your surface.. I used flex seal and a stencil on this door mat, but you can easily make your diy doormat hand painted if you don't have a cricut machine, or you can make a stencil. I'm writing a phrase for my doormat so i'm using 2 fonts for my design. I like to wait at least fifteen minutes if i'm using acrylic paint. You can use google docs or find a template on the web. With your masking tape, make a straight line from one corner to its diagonal partner.
Wait until that area dries, put the tape back over the painted area and expose the next section. I like to wait at least fifteen minutes if i'm using acrylic paint. One coir doormat i really love how this type of doormat works for this project! Using brush strokes got little tiny dots of paint everywhere! Just fill in with paint!
How To Paint A Doormat Crazy Wonderful from i0.wp.com To sum it up , these painted doormats are an amazing talking piece for when people enter your home. Remember when i introduced you to lz from the summery umbrella and told you what a great source she is for original hand lettered svg files and prints? Some of the stencil edges started to pull up as they got wet with paint so i used my finger to hold them in place as i went. Paint a coir doormat using masking tape after deciding on a color, gather supplies needed to paint the coir doormat — newspapers to place underneath the doormat, masking tape, latex house paint, and a paintbrush. Spray the stencil with the aerosol paint, moving the can in a sweeping motion about 2 inches from the mat. Grab a tiny paintbrush so that you can go over the letters after the initial layer of paint dries. If that's the case with yours, just center as much as possible. Press the tape down firmly to keep paint lines crisp.
At your doorstep faster than ever.
Put your paint onto a disposable plate and prepare your sponge brushes and paint! Painting isn't just limited to a canvas, a wall, paper, and wood. Create a template of your chosen design. Use a bold typeface for your stencil. Let them know you are happy to see them even before you open your door! Along the way i've compiled a list of tips and tricks for making the process easy and successful. Be sure and to dab your paint up and down when applying; The first step in this project is to paint your doormat one solid color. Today we are doing step by step instructions and tips on one of our most popular projects, the personalized welcome mat made with a vinyl stencil. Paint a coir doormat using masking tape after deciding on a color, gather supplies needed to paint the coir doormat — newspapers to place underneath the doormat, masking tape, latex house paint, and a paintbrush. If you just brush the paint on, it won't get down into the top layer of the coir, and your design will be splotchy. This doormat is not only useful, but it adds some character and whimsy for your visitors. Place the vinyl on the doormat and use a ruler to center the design.
Wait a few minutes and spray the stencil again. If you just brush the paint on, it won't get down into the top layer of the coir, and your design will be splotchy. Painting isn't just limited to a canvas, a wall, paper, and wood. Learn how to paint a coir doormat! Hold your spray paint about 3 inches from your surface.
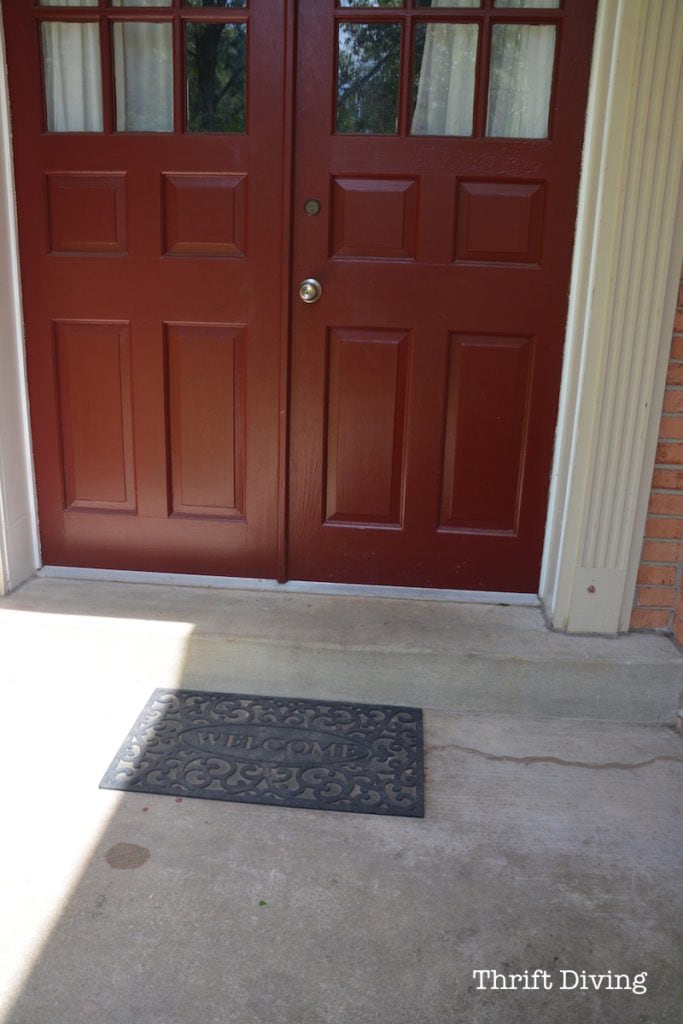
My Pretty Custom Welcome Mat Makeover With Spray Paint from thriftdiving.com Allow your ink to dry completely before peeling your freezer paper off your custom doormat. If you just brush the paint on, it won't get down into the top layer of the coir, and your design will be splotchy. Hold your spray paint about 3 inches from your surface. Let them know you are happy to see them even before you open your door! Make sure that the tape is straight on the edge below where you will be painting and press it down really well. Remember when i introduced you to lz from the summery umbrella and told you what a great source she is for original hand lettered svg files and prints? It withstands a lot better than regular acrylic paint. This doormat is not only useful, but it adds some character and whimsy for your visitors.
With your masking tape, make a straight line from one corner to its diagonal partner.
The vinyl won't really stick, so you can move it around until it's centered. Put your paint onto a disposable plate and prepare your sponge brushes and paint! Continue to shake the can and let dry in between coats. To sum it up , these painted doormats are an amazing talking piece for when people enter your home. Using brush strokes got little tiny dots of paint everywhere! Along the way i've compiled a list of tips and tricks for making the process easy and successful. (1) here's what i use: I like to wait at least fifteen minutes if i'm using acrylic paint. Create a template of your chosen design. Make sure to use outdoor acrylic paint. Electronic cutting machine (i used a cameo 3) to start designing your mat, draw a rectangle the same size as the mat in silhouette studio. The first step in this project is to paint your doormat one solid color. Spray the stencil with the aerosol paint, moving the can in a sweeping motion about 2 inches from the mat.
Those skinny fonts may look pretty but it's much easier to paint if you have a really bold font on your diy doormat. Paint a plaid doormat and elevate your entryway! I painted each stripe from several angles to really get a good coverage. Continue to shake the can and let dry in between coats. Apply stencil to door mat.
Diy Painted Doormat Youtube from i.ytimg.com To sum it up , these painted doormats are an amazing talking piece for when people enter your home. Use a bold typeface for your stencil. Be sure and to dab your paint up and down when applying; You can use google docs or find a template on the web. Learn how to paint a coir doormat to add color, personality and a homemade touch to your entryway. If you use fabric paint, wait 30 minutes and then set it again with the iron. If that's the case with yours, just center as much as possible. Enjoy free shipping on orders over $35.
Continue to shake the can and let dry in between coats.
Apply stencil to door mat. Shake a can of enamel spray paint for several minutes to ensure paint is mixed. Paint a plaid doormat and elevate your entryway! Paint a coir doormat using masking tape after deciding on a color, gather supplies needed to paint the coir doormat — newspapers to place underneath the doormat, masking tape, latex house paint, and a paintbrush. Let your mat completely dry before using. And outdoor acrylic paint or flex seal; If you use fabric paint, wait 30 minutes and then set it again with the iron. Enjoy free shipping on orders over $35. I'd recommend first adding a light color of spray paint to use as a sort of primer, and then adding the color you want to show up. Create a template of your chosen design. Use a stiff bristled paint brush or a stencil brush to tap the paint straight down onto the mat. This easy diy welcome mat is the perfect seasonal touch to boost your curb appeal on a budget! I used flex seal and a stencil on this door mat, but you can easily make your diy doormat hand painted if you don't have a cricut machine, or you can make a stencil.
Shake a can of enamel spray paint for several minutes to ensure paint is mixed how to paint a door. Use a black sharpie to trace the design.


0 Comments:
Posting Komentar